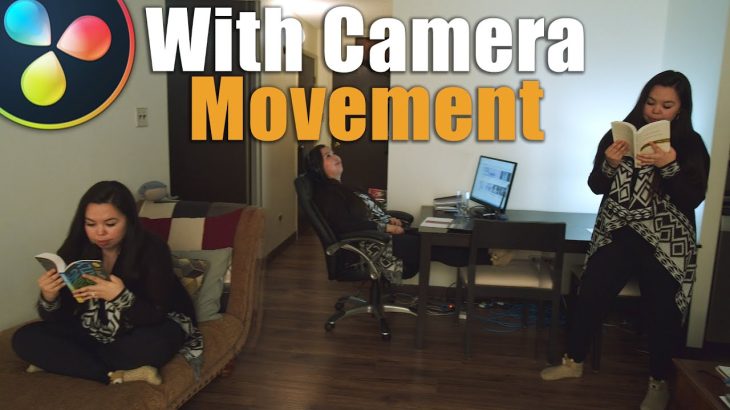
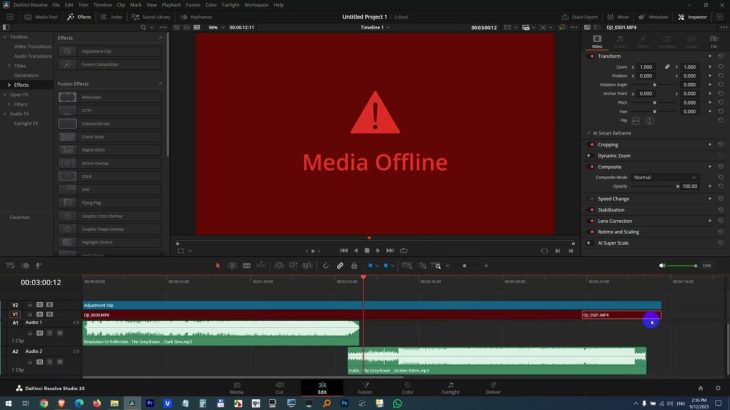
In today’s tutorial for DaVinci Resolve 16, we’re going over how to clone yourself without a green screen. Everything I show today can be done in the free version of DaVinci Resolve. Stick around for the later parts of the video to learn some more advanced techniques, and even how to move the camera with a clone shot which is notoriously troublesome, but you can be the judge for how I did at the end.
Problematic Music Video: https://www.youtube.com/watch?v=zN_KOFKgxQk
Additional notes:
Hope you guys enjoyed the skit, and can look past the out of focus parts, my fiance tried her darnedest (she’s not too interested in camera stuff) and she wasn’t up for a second take. That kinda stuff drives me crazy but I figure good is better than perfect in this situation so I’m hoping you got a kick out of it.
For the moving shots you could also achieve this effect with a motorized slider, and honestly I think a slider with some type of consistent counter weight system could get the job done. In a pinch you could also maybe get it done with an egg timer, just as long as the motion is smooth.
I hope you folks are liking these tutorials with 3 examples. It drives me nuts when a tutorial only goes over an effect in ideal circumstances, because 90% of the time that’s not what you’re working with so I figure showing different situations that elevate in difficulty help give you the trouble shooting skills to make these effects for your projects.
No references for this video today, but try it outself and let me know how you get along
Download Davinci Resolve for Free: https://www.blackmagicdesign.com/products/davinciresolve/
Gear I use:
Camera – Black Magic Pocket 4k
Microphone – Rode NTK
Main Lens – Meike 12mm f2.8
Other lenses – Meike 35 mm f1.7, Rokinon 50mm T1.5, Rokinon 24mm T1.5
Tripod – Velbon Videomate 638
Computer Specs:
CPU – Ryzen 1700x
GPU – GTX 1070
