Davinci Resolve is a complete video editing app for Mac, Windows PC, and Linux computers. And it’s completely free to download and use.
The complete Davinci Resolve Master Class is coming soon.
https://howfinitycourse.com/davinci_resolve
You can download and install the latest version of Davinci Resolve here:
https://www.blackmagicdesign.com/products/davinciresolve/
There is a paid version of Davinci Resolve called Davinci Resolve Studio which has a lot of professional tools, such as DaVinci Neural Engine, stereoscopic 3D tools, dozens of extra Resolve FX filters, and Fairlight FX audio plugins, and it supports a variety of professional camera codecs not supported by the free version.
Once you install Resolve on your computer and open the application, the very first page allows you to create your first project.
Step 1: Start a new project
Click the new project and label your first editing project.
Step 2: Understand the interface
The Davinci Resolve interface is very easy to understand and follows a simple editing process. The bottom menu will walk you step by step through your editing.
First is the media tab, which will bring in the videos that you want to use for this project.
Next, a cut will allow you to do basic edits to trim your clips.
The third tab is edit, which lets you dive deeper into precision editing.
The fusion tab is intended for adding text and graphics and even uses 3-d and motion graphics.
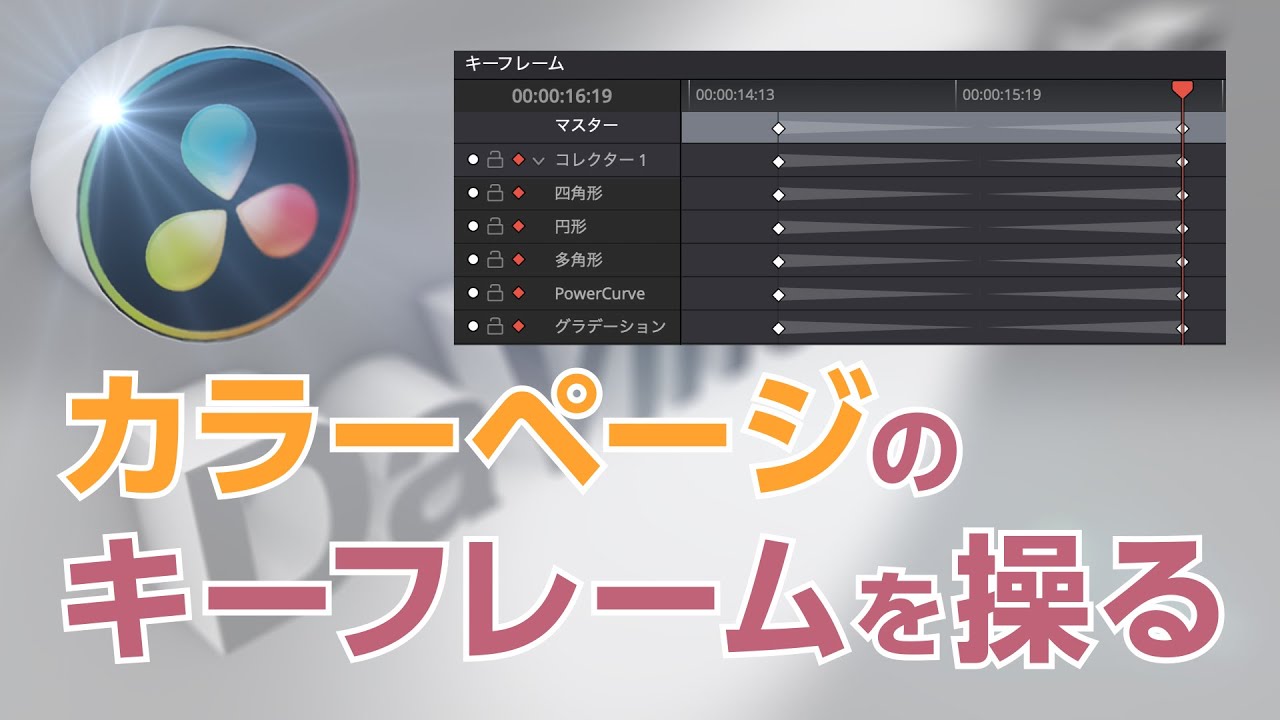
The color tab allows you to color correct your project which is one of the most powerful parts of Davinci Resolve.
Fairlight is for everything audio. Fix sounds, add music, and mix everything together to make it sound just right.
And the final tab is called deliver which allows you to export your video, so you can share it with other people out.
Step 3: Project settings
Before we start with our project, let’s make sure the setting is set up. You can do this via the setting gear on the bottom right. If you skip this step, don’t worry. It will ask you to change it when importing your video clips.
Step 4: Import Media
You can drag and drop your video clips to Resolve or you can right-click to import media.
I recommend buying an external hard drive if you plan to edit often.
That will save you from filling up your hard drive and keep your footage organized.
Here is an external drive I recommend: (affiliate link)
LaCie Rugged Mini 2TB External Hard Drive
https://amzn.to/3f49N4s
Step 5: Editing basics
Editing: Now you can go to the edit tab and begin assembling your video. You can simply grab any video or audio clip and drag them to your timeline. The timeline or sequence is the area where all your editing takes place.
One of the best keyboard shortcuts is B. It brings up the blade tool that lets you easily cut your video. Once you make cuts, you can select A for the selection tool and delete the part you don’t want by pressing delete.
You can also press shift+delete to close the space between any clips when cutting out a piece of video.
Step 6: Adding B-Roll
Any secondary footage is called b-roll and you can add it to your video at any time.
You can use the preview window to watch and select the best part of a b-roll clip. You can select in point using keyboard shortcut I and out point using O.
Step 7: Adding text
You can add text in the edit panel as well. Just add text on another video layer.
Step 8: Add Transitions
Video transition and effects can be added to the editing panel as well.
Step 9: Add music
You can bring your music during the editing process. Just make sure to add your music to a different audio layer than any voice tracks.
Also, make sure you use royalty-free music if you are using this video online.
You can purchase music here: (affiliate link)
https://1.envato.market/c/2500859/1159027/4662
Step 10 Audio Adjustment
You can do this in the edit panel or in Fairlight for more advanced users.
Step 11 Color Correction
You can apply color corrections and filters as your final touches
Step 12 Exporting
This is when you save the video in a format that can be shared outside of Davinci Resolve.
Recommendations: (some are affiliate links)
External Hard Drive:
LaCie Rugged Mini 2TB External Hard Drive
https://amzn.to/3f49N4s
Royalty-free music:
https://1.envato.market/c/2500859/1159027/4662
Recommended YouTube Gear and tool: (includes affiliate links)
✅ YouTube gear checklist https://bit.ly/youtubestudioguide
▶️ Tubebuddy https://www.tubebuddy.com/howfinity
📲 More Tutorials https://howfinity.com
Software/platforms:
📷 Adobe Photoshop https://bit.ly/AdobePhotoshop-HowfinityYT
🎞 Adobe Premiere https://bit.ly/AdobePremiere-HowfinityYT
🔐 VPN https://nordvpn.org/howfinity
Courses:
▶️ Grow Your Own YouTube Channel – Free Training https://bit.ly/YouTubeMentor
🎨 Photoshop Masterclass https://bit.ly/Photoshopcourse-howfinity
🎬 iMovie Video Editing Course https://bit.ly/imoviecourse
