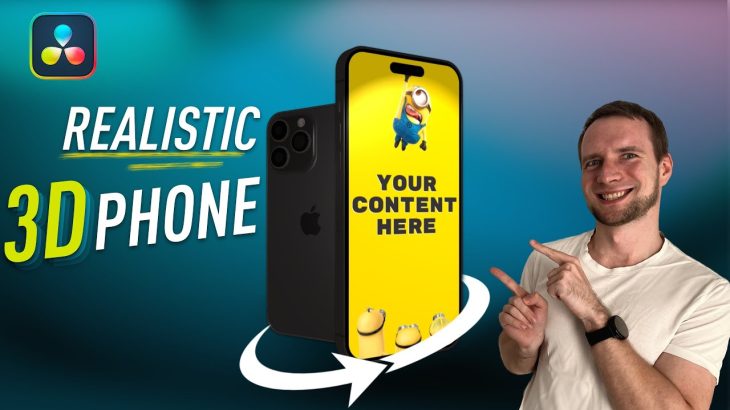
In this tutorial I will show you how to create a realistic 3D mockup of an iPhone or Android phone in Davinci Resolve.
From setting up your project to adding lighting and textures, this step-by-step guide will help you achieve the perfect 3D mockup. Whether you’re a beginner or an advanced user, this step-by-step tutorial is made for anyone looking to create stunning realistic 3D phone in Davinci Resolve.
Links to 3D models used in video:
iPhone 14 Pro 3D model — https://sketchfab.com/3d-models/iphone-14-pro-5cb0778041a34f09b409a38c687bb1d4
Samsung S21 3D model — https://sketchfab.com/3d-models/samsung-galaxy-s21-62c074055bc0491aaa4752128087fd88
CHAPTERS:
00:00 – Intro
00:31 – Create Fusion composition
01:17 – Import media into Fusion composition
02:10 – Add transform node
02:30 – Fixed composition size
04:11 – Phone 3D model
04:47 – Create other 3D nodes
06:03 – 3D model configuration
08:52 – Making the phone more realistic (EASY WAY)
09:27 – Rounding media edges
10:10 – Imitating phone cut outs (camera, notch, dynamic island)
10:57 – Adding lights
13:17 – Brightening phone backside
14:54 – Adjusting material properties
15:50 – Making the phone more realistic (HARD WAY)
18:32 – Fixing masks
19:04 – Adding animation
20:35 – Reusing in other projects
